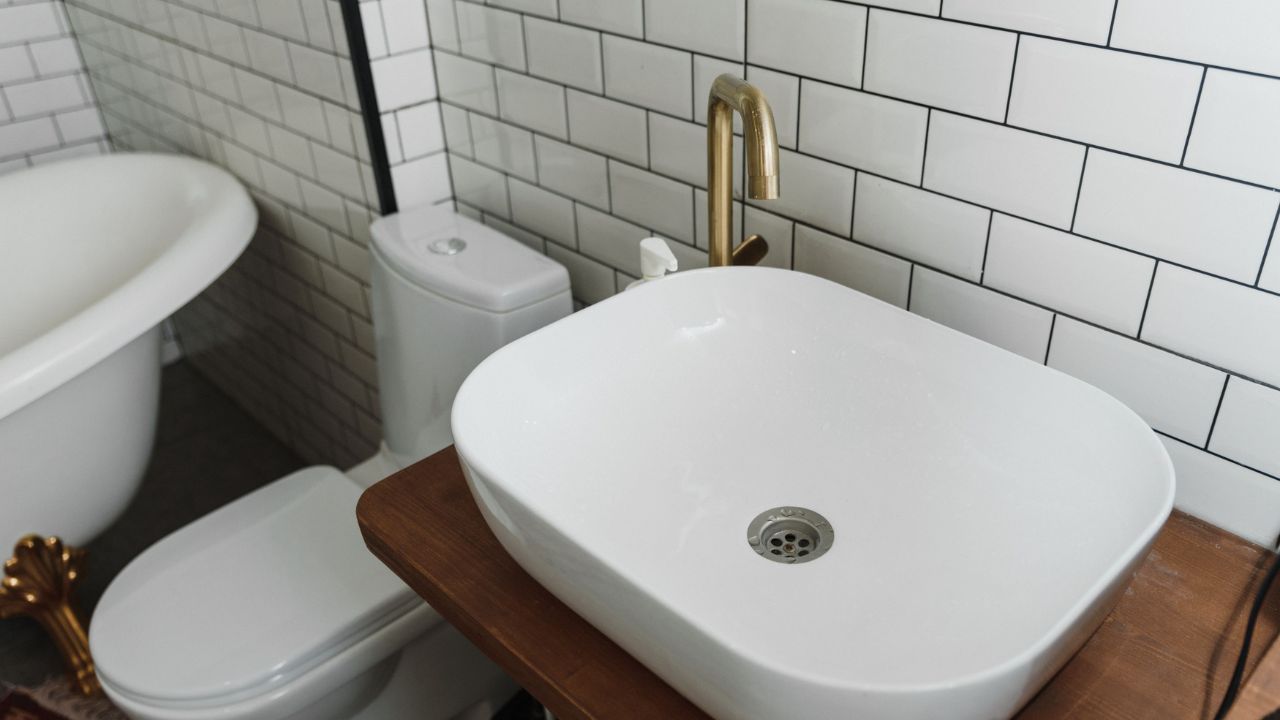
Installing a new vanity can completely change the look of a bathroom, but the project is not finished until the sink is properly connected. Learning how to install bathroom vanity plumbing can help you understand how the water supply, faucet, drain, and P-trap work together.
The job is manageable when existing plumbing is already in the right location. However, small mistakes—such as poorly aligned drain fittings or loose supply connections—can cause leaks inside the cabinet.
Before starting, inspect the existing pipes and make sure the new vanity fits around them. Careful planning makes installation cleaner and reduces the likelihood of having to modify the cabinet or plumbing later.
Understanding Bathroom Vanity Plumbing
Bathroom vanity plumbing consists of two basic systems: water supply and drainage. The supply lines deliver hot and cold water to the faucet, while the drain assembly carries wastewater from the sink into the home’s drainage system.
Under a typical vanity, you will usually find hot and cold shutoff valves, flexible faucet supply lines, a sink tailpiece, a P-trap, and a drain pipe entering the wall. Each connection needs to be properly aligned and sealed.
Understanding these components before learning how to install bathroom vanity plumbing makes the installation process much easier.

Tools and Materials You May Need
Having everything ready before installation saves time and helps prevent unnecessary interruptions.
Common tools and materials include:
- Adjustable wrench
- Tongue-and-groove pliers
- Bucket
- Tape measure
- Screwdrivers
- Utility knife
- Plumber’s putty or approved sealant
- Faucet supply lines
- P-trap kit
- Sink drain assembly
- Towels or rags
- Flashlight
- Appropriate pipe fittings
The exact fittings depend on the sink, faucet, drain configuration, and existing plumbing. Always check the manufacturer’s instructions for your specific fixtures.
How to Install Bathroom Vanity Plumbing Safely
Before working on any water connection, turn off the hot and cold water using the shutoff valves beneath the sink. If reliable local shutoff valves are not available, the home’s main water supply may need to be turned off.
Open the faucet afterward to confirm that water flow has stopped and to relieve remaining pressure.
Inspect the Existing Plumbing
Look carefully at the drain pipe, shutoff valves, and supply connections. Check for corrosion, damaged fittings, moisture, or signs of previous leaks.
Measure the locations of the drain and water lines in relation to the new vanity. This is especially important when installing a vanity with drawers because plumbing may interfere with the cabinet structure.
Position and Secure the Vanity
Move the vanity carefully into position without damaging pipes coming through the wall or floor. Openings may need to be made in the cabinet back to accommodate existing plumbing.
Once positioned correctly, level the vanity and secure it according to the manufacturer’s instructions. A stable cabinet makes it easier to align the sink and plumbing connections.
Install the Faucet and Drain Assembly
In many installations, attaching the faucet before permanently positioning the countertop is easier because the mounting hardware is more accessible.
Insert the faucet through the appropriate mounting holes and secure it from underneath according to the manufacturer’s directions.
Install the Sink Drain
The sink drain connects the basin to the plumbing underneath the vanity. Depending on the drain design, plumber’s putty, a supplied gasket, or another manufacturer-approved seal may be required around the drain flange.
Install the drain body and tighten it evenly. Avoid excessive force because overtightening can damage components or potentially crack certain sink materials.
If the sink includes a pop-up drain, install and adjust its mechanism before connecting the P-trap.
Connect the Water Supply Lines
An important part of understanding how to install bathroom vanity plumbing is correctly connecting the faucet to the water supply.
Most modern faucets use flexible supply lines. Connect one line between the hot-water shutoff valve and the faucet’s hot inlet. Connect the second line between the cold-water valve and the cold inlet.
Connections should be secure without being excessively tightened. Follow the faucet and supply-line manufacturer’s guidance regarding washers, seals, and thread treatments.
Check Hot and Cold Connections
Traditionally, the hot-water control is located on the left and the cold-water control on the right when facing the sink.
Double-check the connections before turning the water back on. Correcting crossed supply lines now is much easier than discovering the problem after everything has been completed.
Install the P-Trap and Drain Connection
The P-trap is the curved section of pipe beneath the sink. It retains a small amount of water that forms a seal against sewer gases entering the bathroom.
Connect the sink tailpiece to the P-trap, then connect the trap arm to the drain pipe in the wall.
Align the Drain Components
Good alignment is essential. The fittings should come together naturally rather than being forced into position.
Depending on the installation, the tailpiece may need adjustment or an appropriate extension fitting. Make sure slip-joint washers are positioned correctly before tightening their nuts.
Hand-tightening followed by careful adjustment is commonly sufficient for many plastic slip-joint connections. Follow the fitting manufacturer’s instructions.
Test Your Bathroom Vanity Plumbing
Testing is one of the most important steps when learning how to install bathroom vanity plumbing.
Slowly open the shutoff valves and watch the supply connections. If they remain dry, operate the faucet and allow water to run through the sink.
Inspect around:
- Faucet supply connections
- Shutoff valves
- Sink drain
- Tailpiece
- P-trap connections
- Wall drain connection
Use a dry paper towel around each joint to detect small amounts of moisture that may be difficult to see.
Test the Drain With More Water
Fill the sink partially, then release the water. The larger volume puts the drain connections under a more realistic test.
Watch the P-trap and drain fittings while the water empties. If moisture appears, shut off the water if necessary and correct the affected connection before using the vanity normally.
Common Vanity Plumbing Installation Mistakes
Even when you understand how to install bathroom vanity plumbing, a few common errors can create problems.
One is forcing drain components into alignment. This places unnecessary stress on fittings and can contribute to leaks.
Another is overtightening connections. More force does not always create a better seal and can damage washers, threads, fittings, or fixture components.
Other common mistakes include failing to level the vanity, crossing hot and cold lines, incorrectly positioning slip-joint washers, and failing to test every connection.
When Should You Call a Plumber?
A straightforward vanity replacement is different from relocating plumbing.
Consider using a licensed plumber when the project requires moving supply pipes or drains, replacing damaged plumbing inside a wall, correcting improper drainage, modifying venting, or dealing with connections you are not confident handling.
Local plumbing codes can also affect what work homeowners are permitted to perform. Check local requirements before making significant changes to the plumbing system.
FAQs
How difficult is it to install bathroom vanity plumbing?
The difficulty depends largely on the existing plumbing. Replacing a vanity while keeping the sink, drain, and water lines in approximately the same locations is generally simpler than relocating pipes.
Can I install vanity plumbing myself?
Some homeowners can handle straightforward fixture connections, but plumbing rules vary by location. Projects involving pipe relocation, venting, damaged plumbing, or significant modifications are better handled by a qualified professional.
What plumbing is needed for a bathroom vanity?
A standard vanity normally requires hot and cold water supplies, shutoff valves, faucet supply connections, a sink drain, a tailpiece, a P-trap, and a properly connected drainage system.
Why does a bathroom sink need a P-trap?
The P-trap holds water inside its curved section. This water creates a barrier that helps prevent sewer gases from traveling through the drain and entering the bathroom.
How do I know if my vanity plumbing is leaking?
Inspect every connection while water is running and after filling and draining the sink. A dry paper towel placed around fittings can help reveal small leaks.
Should I use plumber’s putty on a bathroom sink drain?
It depends on the drain and sink manufacturer’s instructions. Some assemblies use plumber’s putty, while others require supplied gaskets or a compatible sealant.
Can a new vanity use existing plumbing?
Yes, especially when the new sink is positioned close to the original plumbing locations. Cabinet design, sink depth, drawers, and drain alignment can affect whether modifications are necessary.
What happens if the P-trap does not line up?
Do not force the trap into place. Correctly sized and approved drain fittings or extensions may be required to create a properly aligned connection. More significant alignment problems may require plumbing modifications.
Conclusion
Knowing how to install bathroom vanity plumbing helps make a vanity replacement much less confusing. The basic process involves inspecting the existing plumbing, positioning the vanity, installing the faucet and drain, connecting the supply lines, assembling the P-trap, and carefully checking for leaks.
Take extra care with alignment and sealing rather than relying on excessive tightening. Once every connection has been tested and remains completely dry, your new bathroom vanity can be put into regular use with greater confidence.